
The aluminum extrusion process, step by step
7 min read
From a solid billet of aluminum to a finished, specified profile — what happens inside the press, and why each step matters to your part.
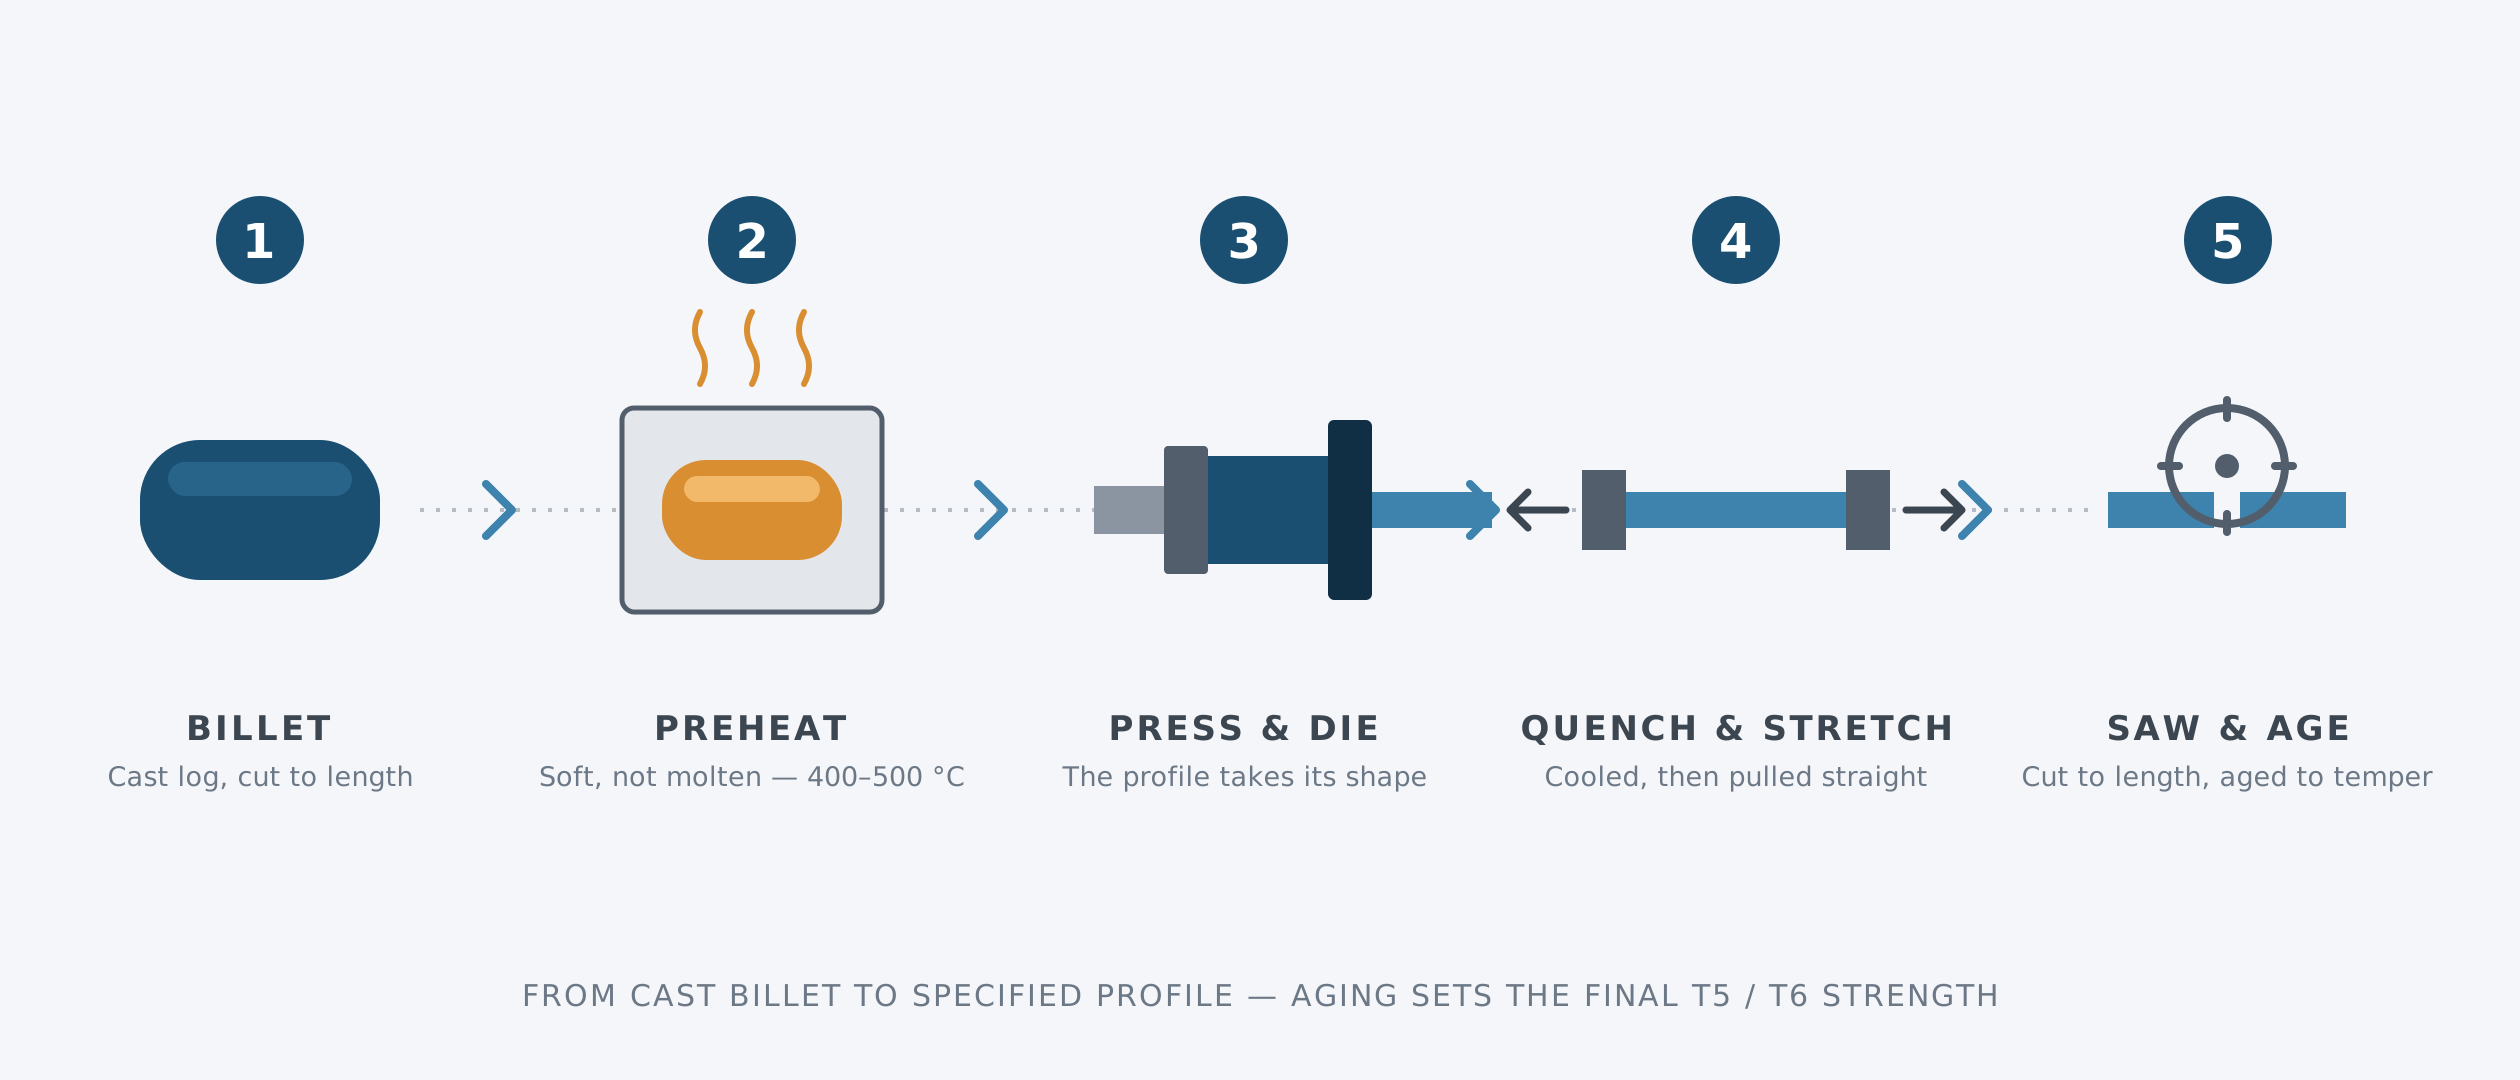
Every aluminum profile starts as a solid log of metal and a steel die. Knowing the steps in between helps you design parts that run cleanly and understand what actually drives cost and lead time. Here is the process from billet to finished part.
1. It starts with the billet
Extrusion begins with a billet — a solid, cylindrical block of aluminum alloy cut from a longer cast log. Before it can be shaped, the billet is preheated in an oven to roughly 400–500 °C (750–930 °F): hot enough to become soft and malleable, but well below melting. A release agent is applied so the billet and the press ram do not stick.
The alloy chosen here (typically a 6000-series like 6063 or 6061) determines how easily the metal flows, how fine a profile it can form, and how strong the finished part will be.
2. The die does the shaping
The die is a thick steel disc with your profile’s cross-section cut into it. It is preheated too — around 450–500 °C — so the aluminum flows evenly and the tool lasts longer. The die is what makes extrusion powerful: a single opening can build in walls, channels, slots, and mounting features that would otherwise be separate machined or assembled parts.
3. Into the press
The softened billet is loaded into the press, where a hydraulic ram drives it forward with enormous force — the industry's largest presses exert as much as 15,000 tons. The aluminum has nowhere to go but through the die opening, and it emerges as a continuous profile in exactly that shape — the moment the part is "born."
4. Quench and stretch
As the profile exits, it is cooled (quenched) and moved to a stretcher, which grips both ends and pulls until the profile is straight, removing the natural twist that occurs as the metal cools. Stretching also brings the part into its dimensional tolerance.
5. Cut to length
The straightened profile is sawn to length — either finished lengths or longer stock for the secondary operations that follow.
6. Aging — where strength comes from
Many alloys gain their full strength in a final aging (heat-treatment) step. The profiles are baked in an aging oven at a lower temperature, which causes alloying elements to precipitate into very fine particles — like microscopic rebar locking the metal’s crystal structure in place. This is the difference between a T5 and a T6 temper, and it is why temper, not just alloy, matters to your part’s performance.
7. Secondary operations — from profile to finished part
A raw profile is rarely the finished product. Machining, fabrication, finishing (anodize and powder coat are available), and assembly turn it into a part that is ready to install. Doing all of this under one roof — one PO, one team — is what AES means by single-source production assistance.
- Why minimum runs exist — the die and press setup carry a fixed cost, so very small jobs are uneconomical (AES runs from 300 lb).
- Uniform wall thickness and symmetry help the metal flow evenly, which improves quality and lowers cost.
- Temper (T5/T6), set during aging, drives strength — specify it, not just the alloy.
Talk to us about your profile — production assistance from spec to part.
Request a quote